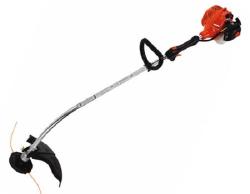
If your string trimmer isn’t starting probably, you need to check the ignition. This post details the procedure for checking the ignition. The instructions below draw from the related YouTube video from lawneq.com, so by all means take a look at it for further information.
Necessary tools
Before checking the ignition on the string trimmer, you first need to have a spark tester. Once you have one, remove the cap of the sparkplug. Start the string trimmer, checking the spark tester to see if you have a spark. If not, follow the steps below to produce a spark.
Breaking down the steps
On the sparkplug cap, there should be two screws. Unscrew them and uncover the mask. Make sure that the contacts on the fly wheel are clean, and fit a tester feeling gauge in the contacts. This will give you the proper distance between the ignition coil and the fly wheel. It is also necessary to ensure that there is no debris in this area. After this is in place, screw the screws to lock the ignition cup back on, and remove the feeler gauge. Reattach the spark tester to see if you now have a spark. If the tester indicates that you have a strong spark, you can glean that there was debris or that the distance between the ignition coil and the fly wheel was wrong. If no spark appears, eliminate the wire on top of the ignition coil. At this point, conduct the spark test one more time; if no spark appears, you need a new coil. If you remove the coil and a spark appears, there is a wiring issue with the ignition coil.
This procedure requires some know-how, but you really don’t need many tools to check the ignition on your string trimmer and the process is short. For a visual demonstration, watch this video and the other repair ones from lawneq.com.


