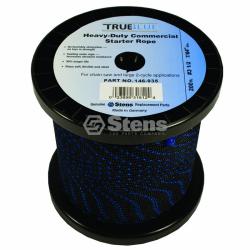
In this post, we explain how to install starter rope, or the cord coiled around the pulley. The starter rope is an essential part of the lawnmower, as it is basically the instrument that sets the entire machine into motion. Typically, when you pull the cord, the pulley spins into place, but after awhile the starter rope needs to be changed, and below are instructions for how to complete this handy lawn care task. This post draws from the fantastic YouTube video on the subject at lawneq.com.
Opening steps
Before installing the starter rope, you need to open up the lid that houses the spring and starter pulley. Check to see if the spring works, spinning it to determine. Afterward, take out the old starter pulley and cord.
Setting the rope in place
Find the hole in the pulley and feed the starter rope through it. Tie a know, making sure that it is not too big, as this will cause it to get stuck in the pulley. After this, run the rope through the starter handle and tie another knot. This knot should be larger, so that you don’t the rope doesn’t fall backward and slip through the handle.
Establishing tension
After you’ve got your rope in place, you need to fix the tension on the spring. Don’t overtighten the tension as this will break the spring. When the spring is set, pull the handle and check to make sure that the handle can get pulled to the end of the rope, giving you maximum extension. If you pull to the end of the spring, you’ll break it and all your efforts will have been for naught, so be careful in this step. A good rule of thumb is to set the spring so that it goes to the end of the spring, with perhaps one extra rotation.
Installing starter rope really is this simple. If you have any lingering confusion, make sure to view the video at lawneq.com.


