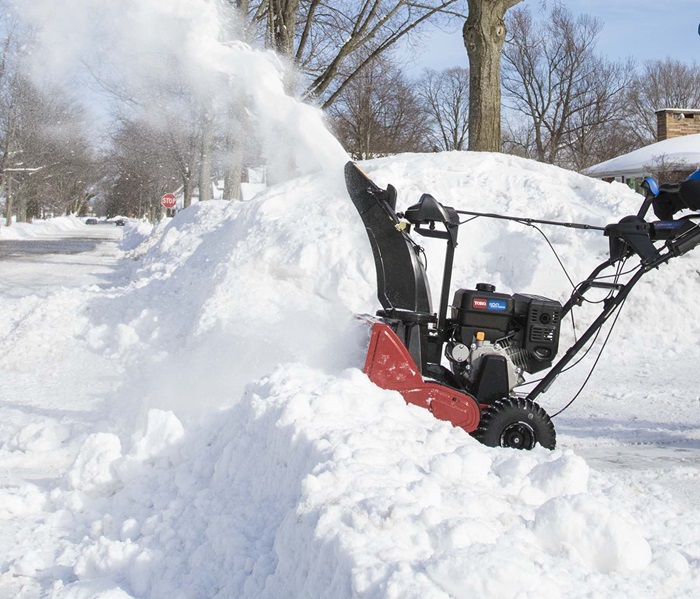
A snow blower may be the most valuable lawn care power equipment item you can have if you live in a section of the U.S. where you get a lot of snow. Of course, due to global warming, just about every region of the country has now become susceptible to severe winter snowstorms.
In Pt. 1 we described how to clean the carburetor of a snow blower.
Like any other power equipment, a number of things can occur with a snow blower, which at best can delay you from clearing your driveway, curb, and front pathway of snow. One of the problems you could encounter is leaking gas.
In Pt. 2 we will discuss a blower that leaks gas.
A number of issues could be the cause for a blower that leaks gas. They include:
• A leaking carburetor
• Cracked fuel lines
• Old or damaged fuel tank
• Leaking fuel valve
• Cracked fuel filter
• A bad fuel pump
• A bad gas cap seal
• A weak primer bulb
Leaking Carburetor
There are a number of components on a snow blower carburetor that can fail and result in a blower that leaks gas. Each one of the components needs to be individually checked.
The components include:
• Carburetor bowl O-ring
• Stuck float
• Stuck Float Needle
Carburetor Bowl O-Ring
The carburetor is where fuel is stowed once it leaves the fuel tank. It certainly should be the first place you check when troubleshooting a snow blower that leaks gas. Start by inspecting the bottom of the bowl O-ring. It is a common place for leaking gas to settle because it is close to the heat of the engine. This area heats up when the blower is on and then cools down after the blower is turned off.
The O-ring resembles a rubber band and can be found between the base of the carburetor and the carburetor bowl. Remove the bowl O-ring.
The temperature of the O-ring constantly shifts from hot to cold. The stress of the heat can cause the component to turn hard. This results in it losing it’s sealing strength.
If you discover that the O-ring sealing strength is compromised, then the small rubber gasket at the bottom of the bowel needs to be replaced.
If this is the problem, then you’ll need to go back to the retailer from whom you purchased the blower and get an appropriate rubber gasket. When you go back to the dealer have the make, model and spec number of the blower in hand. This information appears on the engine. Show this information to the dealer and it will help him select the appropriate rubber gasket.
Once you have the gasket in hand, you will need to replace the damaged gasket. To do this, assure that the snow blower is off. Remove the screw and drop the bowl down. Exchange the old gasket for the new one and reinstall the bowl and the screw. Turn the fuel back on and wipe down the carburetor bowl. Check to assure that there is no longer a gas leak.
Stuck Float
If the bowl O-ring is okay, then your next focus should be on the carburetor float. It is located at the opening of the carburetor. Check to see if the float is stuck. If it is, that’s because a gas leak is coming from the air intake port. The float controls the amount of gas that is stored in the bowl. In effect, it turns the gas on and off from the tank.
If the float is stuck it won’t shut down the gas and the gas will run out of the carburetor. If this is occurring, then you will have to take the carburetor apart to determine what is causing the problem. If you aren’t sure about your ability to fix the issue, take the blower to your dealer for assistance.
Stuck Float Needle
Once the float has been inspected and it is not the cause of the problem, then you should next look at the float needle. It is this component that assures that the gas flows into the bowl. In some cases, the needle could get stuck.
To remedy this issue, take a hammer and use the handle end to gently strike the side of the carburetor to free up the needle. If this doesn’t work, then disassemble the carburetor to discover what is causing the needle to stick. Once you ascertain the problem, then rebuild the carburetor and re-install into the snow blower.
Cracked Fuel Lines
If the carburetor is okay, then your troubleshooting should proceed to the fuel lines, which comes out of the gas tank. If you find that the lines are dry rotted or cracked, then they must be replaced. Carefully inspect the areas of the lines that are held by the clamp to assure that the lines are not damaged. If you see that the clamp being used is a factory pinch style clamp, then it is recommended that you replace it with a worm gear style clamp. This style clamp can be found at Amazon or at a local hardware store.
Old Or Damaged Fuel Tank
If the fuel lines look okay, then inspect the gas tank for any damage. If you find damage or the tank is old, replace it. If the tank is made of steel, check for rust.
If the fuel tank of your snow blower is made of plastic, then check the areas where the plastic is molded together. It is possible that over time the seam could separate or a hole could develop causing a leak.
Leaking Fuel Valve
If the fuel tank is fine, then explore the fuel valve located at the bottom of the fuel tank. Some valves are made of plastic and some are metal. Both styles could leak gas. If your snow blower doesn’t have a fuel valve, then skip this part of the troubleshoot. If it does have a valve and it is leaking gas, replace it.
Cracked Fuel Filter
If the fuel valve is okay, next go to the fuel filter. If your fuel filter has not been replaced for some time, it’s possible that gas could settle in it. Over time the plastic will break or become weak or soft. If you find this to be the problem, then remove and replace the fuel filter. Don’t be alarmed if you accidently crush the ends of the filter while removing it from the blower. That is a common occurrence because the filter is too soft or has melted. Take note, that bad gasoline can cause this problem. So, it is suggested that you use recreation fuel in your blower.
Bad Fuel Pump
The fuel pump of a snow blower could be constructed of plastic. Gas can break down plastic over time. This will cause the diaphragm of the pump to leak gas. In addition, the seams of the pump could leak gas. If this is the problem, replace the fuel pump.
Bad Gas Cap Seal
When you screw the gas cap back over the fuel tank, it may not seal properly. Should this occur, then gas could leak around the top of the tank near the cap.
To diagnose a bad seal shake the snow blower so that the fuel splashes around in the tank. If a wet spot appears around the cap, then the cap’s seal is bad and the whole cap should be replaced.
Weak Primer Bulb
If the gas cap seal is good, then check the primer bulb. A leak could develop where the bulb connects to the fuel line. Also be aware that the bulb can become brittle over time. So it should be replaced periodically.
As you can see, troubleshooting a gas leak on a snow blower can be a time consuming task. However, it is important to go through the whole process until you discover the problem and can fix it.
(Source: poweredoutdoors.com and poweredoutdoors.com/leaking-gas/)
Next Time: Pt. 3: The snow blower won’t throw snow

