
Purchasing a rain barrel from a store or a site can get awfully expensive – many of these companies will charge upwards of $75 for a basic rain barrel, and well over $100 for a top-of-the-line barrel. However, over the winter time, you might have a bit of time on your hands. For the cost of a bit of your time, you can end up spending a lot less than that to put together your own rain barrel.
 Step 1: Finding the Barrel
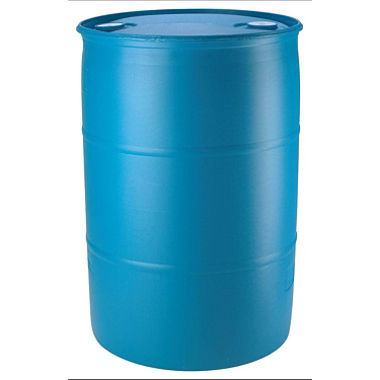
Finding a cheap or free barrel to use shouldn’t be that difficult. Many organizations that use 55-gallon drums have realized that there are plenty of ways to reuse them and that there is a secondary market. Look on Craigslist or in the local paper for barrels from sources such as car washes, food distributors and processors, bottlers, pickle/olive wholesalers, cafeterias, and the like. You should be able to find one for no more than $10-$20.
Look for barrels with existing bung holes for ease of creation – if you find one without these holes, you will have to cut your own. That’s only a small process, but we always feel that easier is better.
Step 2: Protecting Against Mosquitos
The biggest problem with gathering water is having standing water sitting around. Mosquitoes and algae will both make their homes in standing water. Make sure to cover any holes in the barrel with fine mesh to prevent mosquitoes from entering. This includes the top hole, where the water will enter, as well as any overflow holes you will want to drill into the sides of the barrel near the top.
Step 3: Gathering Water
You’ll want to position the rain barrel to collect water efficiently, and also set it up so that getting water out of it isn’t a chore.
How you collect the water is up to you. Some have used it in more of a decorative manner, using a water feature that is also functional. Most often, the rain barrel will be positioned so that a downspout can feed directly into the existing hole on the top of the barrel.
Step 4: Distributing Water from Your Rain Barrel
Once you’ve got the water in the barrel, you need a method of drawing it out. Installing a faucet into the side of your barrel is a simple, easy process done with a handful of goods. All you need is a tube of silicone sealer/cement, a 1/2 inch female threaded silcock (aka outdoor faucet or hose bib), a 1/2 inch threaded bushing, a 1/2 inch female threaded socket an a roll of teflon tape.
Save
Save
Save
Save
Save


