
There will come a time that the rototiller tines of your Kubota tractor will need to be replaced simply due to wear. Although the process may take time, there is no reason why the owner of the tractor can’t perform the task himself. If you are reluctant to do the job for whatever reason, call your Kubota dealer for assistance.

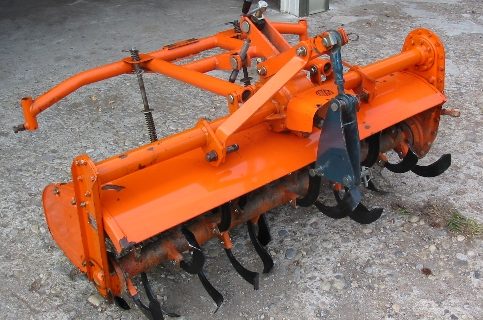
The rototiller was prepped and tines were on hand.
Here are the steps to perform when replacing the tines of the rototiller.
1. Remove the tiller from the tractor.
2. Remove the tines from the tiller.
3. The tiller blades are marked “LH” for left hand and “RH” for right hand. This indicates the direction the blade curves as it sits on the shaft. Separate the tines into one group of LH and a group of RH.

Your tines will be either LH – left hand or RH – right hand
4. The hardware used to perform the task should come from a Kubota dealer and not an outside source. That is because some of the hardware is specifically designed for the Kubota tractor. For example, the bolt is a grade 5 designed to shear if the blade becomes locked or engaged on something solid like a rock or tree root. In addition, the nut and lock washer are metric and feature a fine thread. The nut fits directly into the stub of the rototiller shaft, so it is suggested that you use a socket to turn the bolt. It is advised that you don’t use off the shelf nuts and bolts from a local hardware store. Those nuts and bolts will not be the exact metric.

The attachment hardware is designed to shear if a tine gets stuck on something solid
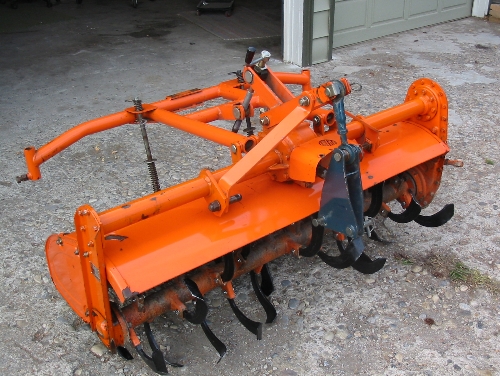
5. Install the blades opposing each other. Start at one end of the tiller and work your way across placing an LH tine and then a RH tine alternatingly. The installation should look like the accompanying photo. It should probably take 32 tines for a 60-inch tiller. The job should take about 20 minutes.

A detail view of how the tines are installed opposing one another.
6. Inspect tensioner and adjust its chain case in accordance to Kubota recommendations. This task should also be done every 50 hours of service. Most Kubota users don’t use their tiller that often. If you don’t, then consider this. If you rototill every spring for an hour and every fall for an hour, you will have to service the tensioner once every 25 years.
7. Inspect the gear case. The gear case is located where the PTO shaft attaches to the rototiller. It should contain 80W90 gear oil. If your rototiller has a dipstick, use it to check the oil level at the beginning of the season. It is not uncommon for the rototiller to retain water in the differential due to condensation. If you notice cloudy, milky oil, flush it and replace it with fresh oil.
8. Change the oil in the side case if necessary. Be forewarned that the task could take a while. You will have to remove all 60 bolts to get a look at the adjuster shoe that maintains some tension on the chain drive. There is a springer tensioner there as well.
9. Loosen off the set nut on the chain adjuster and back the adjuster off slightly, then tighten the adjuster down. It gets tight fast. After that, run the set nut back down to secure the adjuster.
10. Lubing is performed on the PTO shaft. Grease the universal joints and be sure that you lubricate the PTO shaft so it plunges and contracts easily. Don’t worry about over lubricating.
11. Re-place the rototiller to the tractor.
Job complete.
(Source: Orangetractortalks.com)


