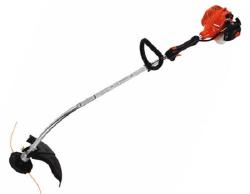
Changing the string is a necessary evil in having a trimmer. When the string runs out, you need to change it, and this process can be intimidating for the lawn care novice. Certainly, you could look into purchasing a speed feed head, but there are advantages to opting for a bump head trimmer. For one, they are less expensive, but another benefit is that they are generally easier to disassemble. In this post, we review exactly what you need to do to change the string on a bump head trimmer.
Remove the head
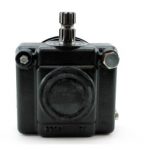
To remove the head of the trimmer, grab the outside of the bump head, turning it clockwise until it clicks. After this is completed, make sure to clean out the inside, removing any debris that may be clogging up the head. Changing the string requires some fine motor skills, so you need a clean head to successfully accomplish this task.
Inserting the string
Once you’ve removed the head, you can insert the string. With a bump head stringer, you will generally need about 15 feet of string. First, locate the holes through which you will insert the string. Then, insert the strings into the holes. Some times it is easier if you bent the very end of the strings. Wined the strings in the direction of the arrows on the spool, and lock into the cut outs on the spool so the strings do not come unwound.
Reattaching the head
To reattach the head, insert both ends of string through the holes of the trimmer. This is a bit of a delicate procedure, as you need to watch out so that the strings do not fly apart. When you have the head lodged in place, pull on the strings. This acts as a clamp and will hold the head into place.
Changing the string on a trimmer bump head requires a decent amount of finesse, but following the instructions above should allow you to manage the task with minimal difficulty.
Note: for a visual demonstration of how to change the string on a bump head trimmer, check out the video demonstration at the LawnEQ YouTube page.


